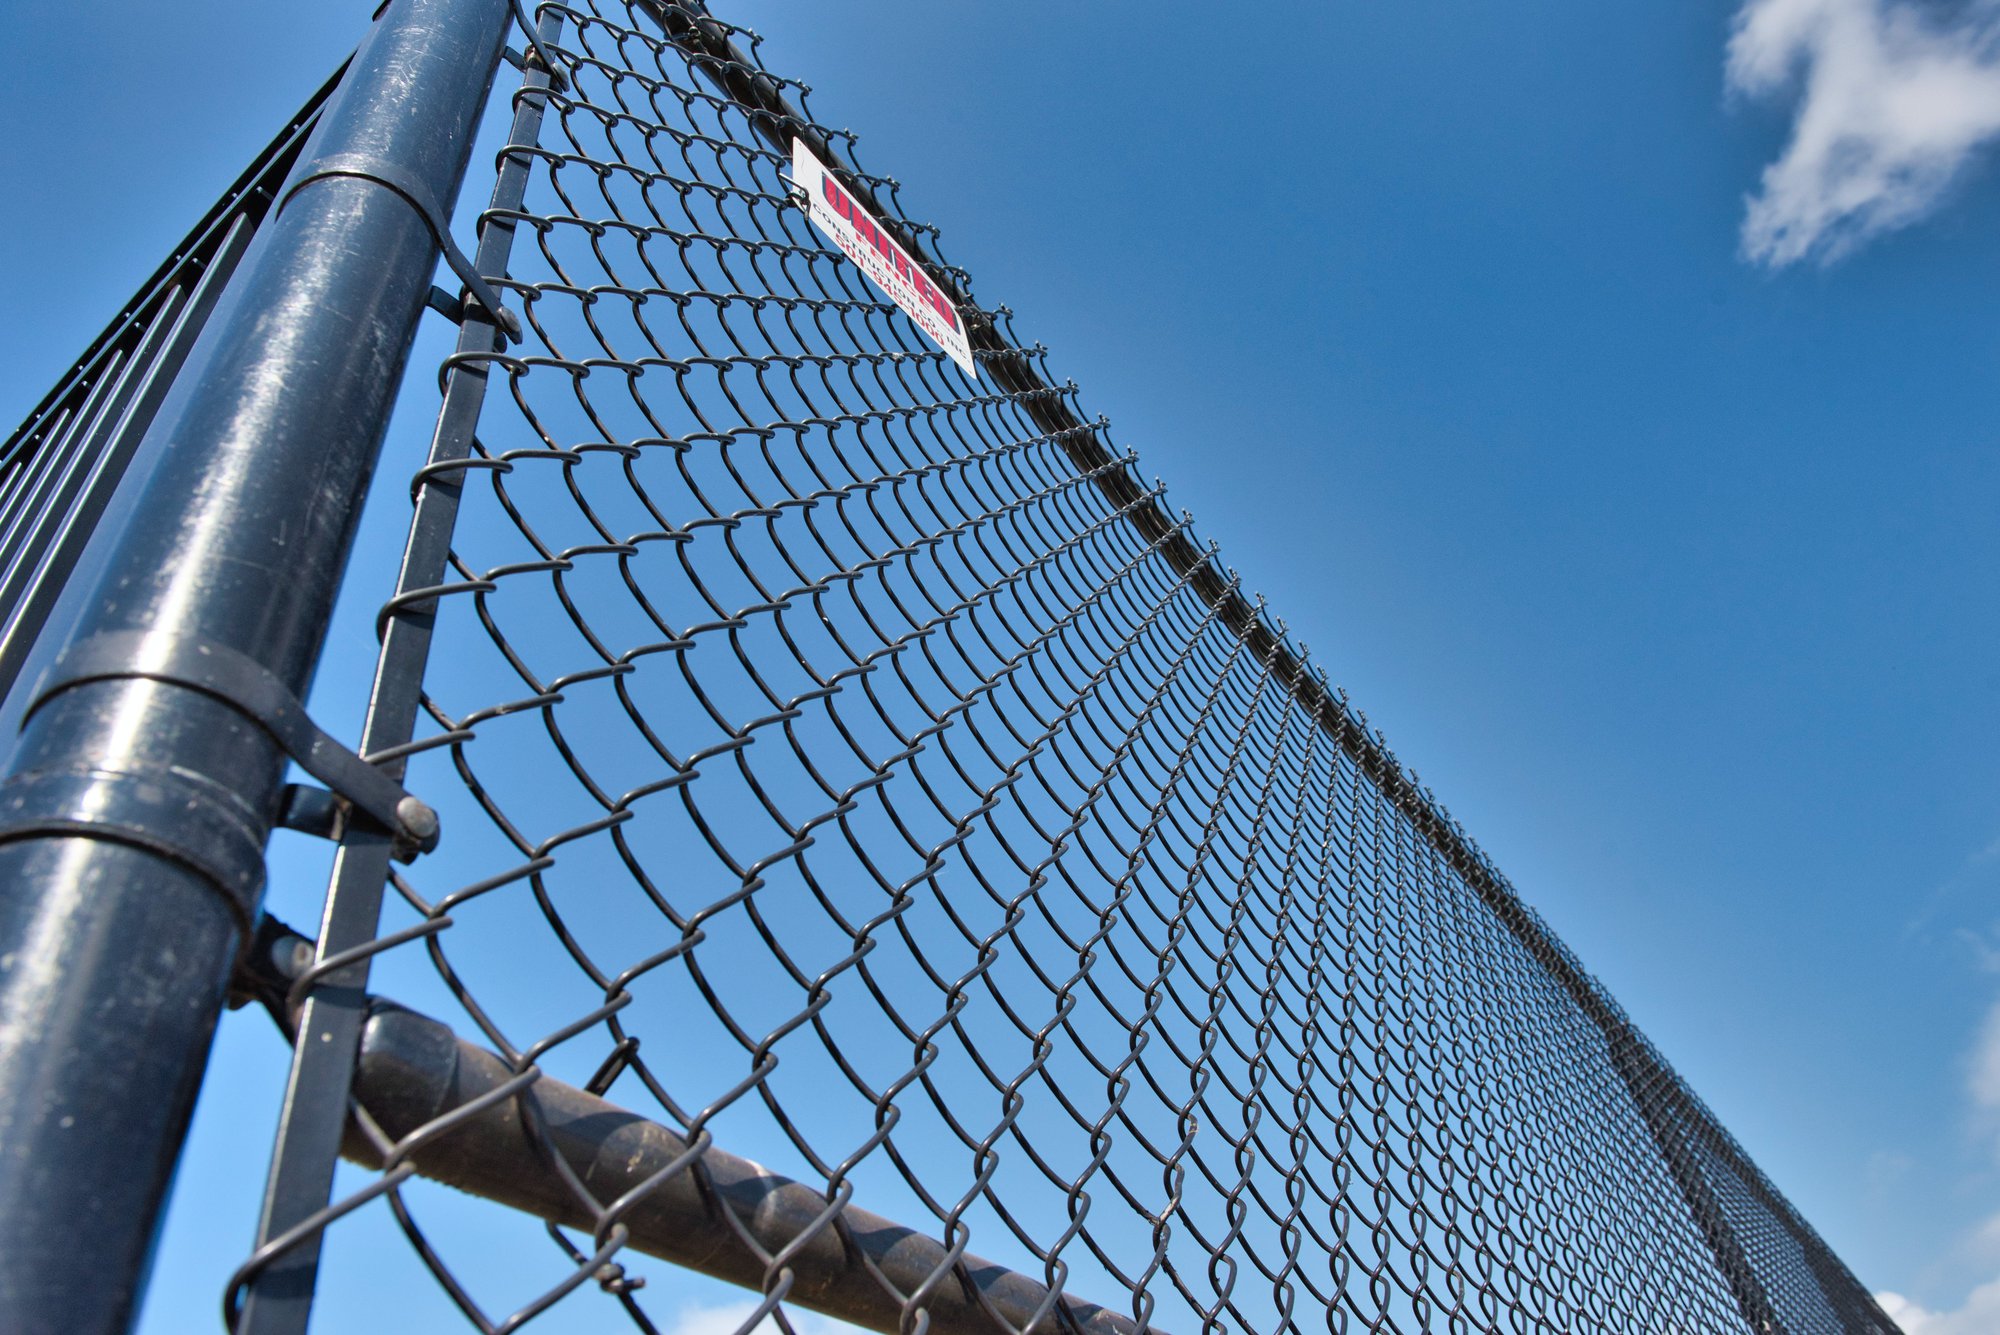
Securing your business property is essential. For commercial chain-link fencing, this means following every step, from getting a permit to setting posts, to ensure that it’s installed correctly and securely. Here’s how to install your chain-link fence and how it can protect your business and property the right way.
1. The first steps
The most important first step is determining what type of fence you want on your property. Once you’ve decided, you can focus on:
- getting a permit
- locating the surveyor pins
- contacting utility protection service
- measuring the fence footage
- determining where you want the gate
In the process of getting a permit, you’re going to learn a lot about your local laws concerning fencing. For example, fence height might be differently regulated from one area to another. Ignoring these rules only risks getting fined later.
Finding the surveyor pins will also help you make better plans for post and fence positioning. In case there are no surveyor pins placed, have them put on your property.
And since you’ll be digging holes in many places, it’s good to get in touch with the utility protection service. They can see if you have any utilities under your property. This will help avoid any potentially dangerous situation.
Once you’ve done these steps, you can measure the fence footage, and determine where you want the gate on your property.
2. Determining fence lines
This step starts with marking where your corner posts and final posts will be. It’s a good idea to drive a couple of stakes behind these locations so that you can set up the guiding string.
You should also ensure that the string is tight enough. This is especially important if you’re building longer stretches of the fence. Given that it’s a guiding line for your fence, don’t let it sag or hang, because this could cause poorly placed fence posts. Also, consider using marking paint to mark post locations.
3. Setting the posts
Once everything is marked, put the posts where they go. This involves:
- digging a hole
- checking hole alignment
- marking posts
- filling the holes with wet cement
- placing the posts in the holes by relying on the marked grades
- filling up the holes with dirt
- checking alignment
In most cases, you’ll use an auger to dig a hole for a metal chain-link fence. However, if a hole is by a building, it’s best to dig by hand. This is the only way to ensure that you won’t damage any utility piping.
When you dig, you can temporarily move the guiding string if necessary. After this, bring it back, and recheck the hole alignment.
Don’t forget to mark the posts near the bottom. This helps you align their height. If you ever have a dilemma, it’s always better to leave the post to be higher, as you can shorten it later. This, however, rarely happens, so it shouldn’t concern you.
Keep two things in mind when you start filling the holes. First, don’t fill too many holes, because the cement can cure before you’ve placed the poles. Second, never fill up the hole completely. It will push the post upward once it cures.
While checking how deep the poles are placed, use the guiding string to know where you should place them. Terminal posts should almost touch the string, while the line posts should be ⅛” to ¼” away from it. This helps ease the difference in pole diameters, since terminal poles are always bigger.
Now it’s time to fill up the holes with dirt.
Once you’ve finished with all the posts, check their height alignment. Most of the time, two people “sight” the posts, and make any height corrections.
But before doing any more work, it’s best to let the concrete cure for around 24 hours.
4. Installing the post fittings and rails
Unlike chain-link fence panels, it’s necessary to set up a frame for the chain-link fence. This is where you place post fittings, and add rails. Place rail end cups on the main posts, and place loop caps on the other posts. Together, these help carry the top rails.
You should also add tension bands, hook-ups, and a bottom brace band. It’s important here to keep all of the nuts on the inside part of the fence for extra security. This will help prevent anyone from taking down the fence.
5. Stretching and tying the chain link
To start the stretching process, take one of your chain link fence rolls, and place it up against the main post. Attach the chain link to the main post, and roll it out until you reach the other.
Next, tighten the fence with a tension bar, stretch bar, and a come-along. Once this is finished, you can tighten the tension bands, but don’t forget to adjust the height before doing it.
Finally, use the tie wires to tie the chain link to the top rail to finish it off. Once you’ve done this, your fence is going to be officially ready for use.
Final thoughts
As you can see, while the whole process might look complicated, it takes only a couple of days from start to finish. This makes the affordable commercial chain-link fence an even more appealing, worthwhile option for your business.
For more information
Whether you’re doing it to make the fans happier or to have the best security for your property, going with a commercial chain-link fence is the best solution. Contact United Fence & Construction today at (501) 214-0161, or submit this form to request a quote.


Leave a Reply